Hi Friends, in this post, we are gonna see how we can leverage Brand Fonts feature in SharePoint Brand Center. We will also cover the important aspects of using Brand Colors, why we need to use and what are all the benefits of using Brand Colors.
What are SharePoint Brand Fonts?
SharePoint, a widely used collaboration platform, offers Brand Fonts to enhance the visual identity of Corporate communications. Brand fonts play a crucial role in establishing a consistent and recognizable brand presence across all digital and print materials. This article delves into the significance, advantages, and best practices of using SharePoint brand fonts, along with common mistakes to avoid and how they support overall branding strategies.
Why use SharePoint Brand Fonts?
Consistent Branding: Ensures a uniform look and feel across all SharePoint sites, reinforcing your brand identity.
Enhanced Readability: Custom fonts can improve the readability of your content, making it easier for users to engage.
Professional Appearance: Brand-specific fonts give your content a polished and professional look, crucial for client-facing documents.
Customization Flexibility: SharePoint allows you to upload and manage custom fonts, giving you the flexibility to use fonts that best represent your brand’s personality and style.
Improved User Experience: Consistent and well-chosen fonts can enhance the overall user experience by making navigation and content consumption more intuitive and enjoyable.
Accessibility: SharePoint’s font packages are designed with accessibility in mind, ensuring that your content is readable by all users, including those with visual impairments.
Brand Recognition: Using consistent fonts helps in building and maintaining brand recognition, making your brand easily identifiable.
Visual Hierarchy: Custom fonts can help establish a clear visual hierarchy, guiding users through the content in a logical and engaging manner.
Cohesive Design: Integrating brand fonts ensures that all elements of your SharePoint site work together harmoniously, creating a cohesive design.
Enhanced Creativity: Custom fonts allow for more creative freedom in designing your SharePoint sites, enabling you to create unique and visually appealing content.
Psychological Importance of Brand Fonts
Emotional Impact: Fonts can evoke specific emotions and feelings.
Brand Personality: Fonts contribute to the overall personality of your brand.
Readability and Engagement: Fonts that are easy to read can improve user engagement and comprehension.
Memory Retention: Studies have shown that people are more likely to remember information presented in a distinctive font.
Cultural Associations: Different fonts can carry cultural connotations.
Visual Hierarchy: Fonts help establish a visual hierarchy, guiding the reader’s eye to the most important information first.
Trust and Credibility: The right font can enhance the perceived credibility of your brand.
Steps to use Brand Fonts
To use the Brand Fonts, you need to setup the Brand Center. You can find detailed information on Brand Center and How to setup Brand Center along with Brand Colors in the below links.
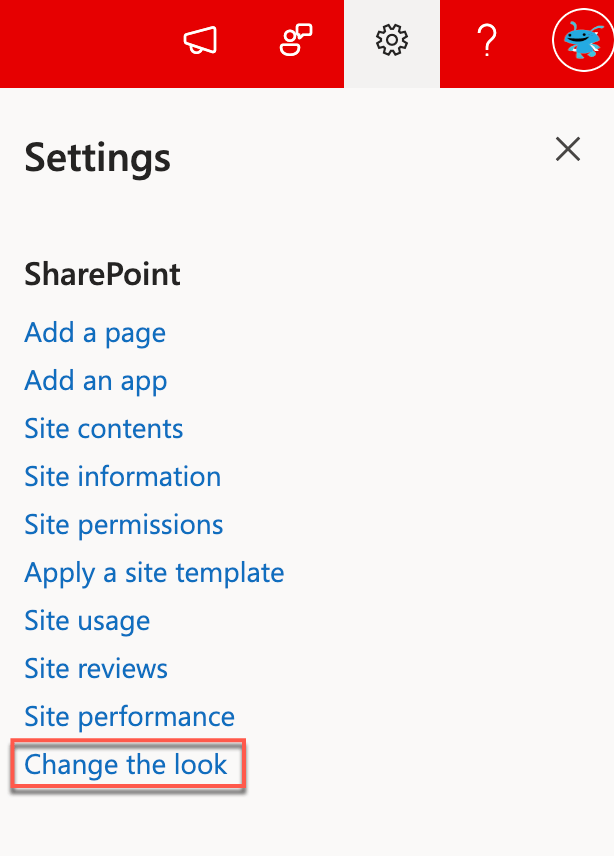
Before looking in to the custom fonts in Brand Center, lets see how we can leverage the fonts that are OOB available in SharePoint. From the settings menu choose Change the look link
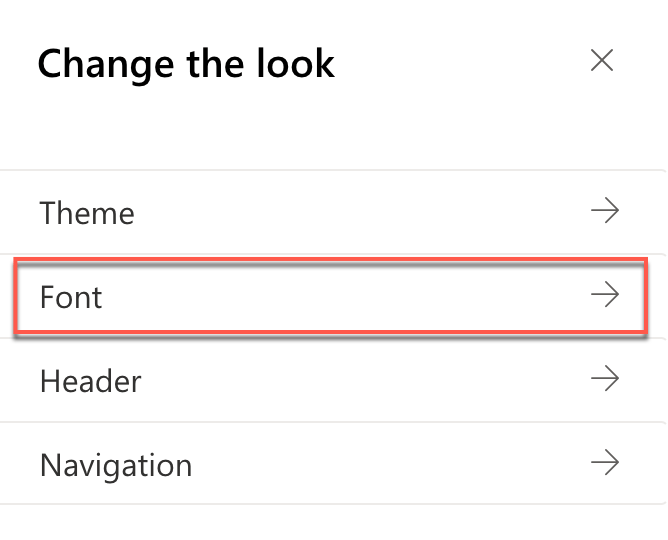
From the different categories, choose Font.
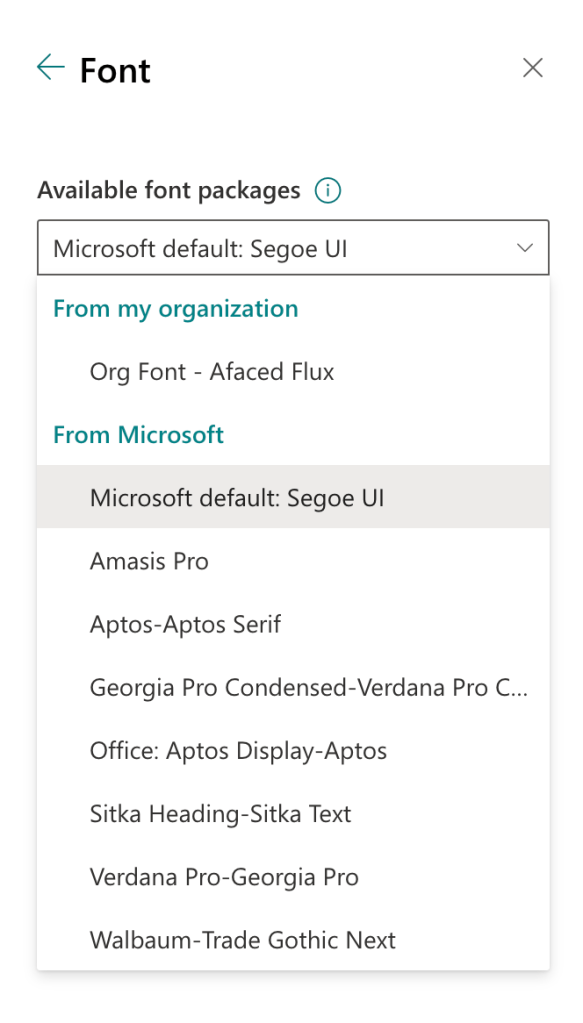
You can see a few list of fonts and be default Segoe UI is selected and applied for the entire site. You can change the font and preview the real time updates of font for all the headers, contents and links in SharePoint and you choose the best that suits your requirement.
Now let us see, how we can add custom fonts to the Brand Center and then utilize the custom fonts in the sites. For the demo purpose, I will use the fonts from google which are available free, but for organization its recommended to use the licensed version of fonts or the OOB fonts. You can download the fonts from Google Fonts. Following are the font files that are supported and can be uploaded to the SharePoint Brand Center.
- True Type fonts – .ttf
- Open Type fonts – .otf
- Web Open Format Font – .woff
- Web Open Format Font – .woff2
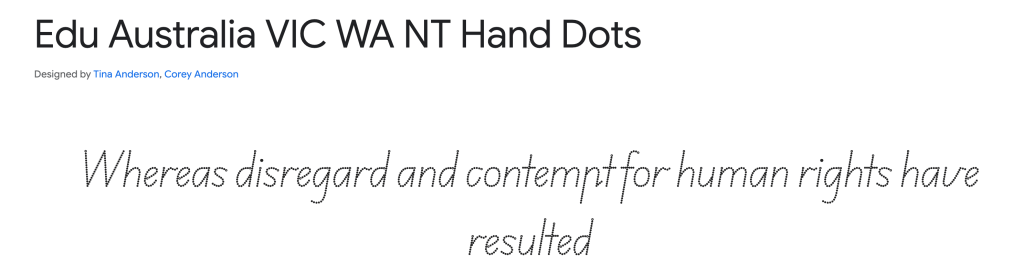
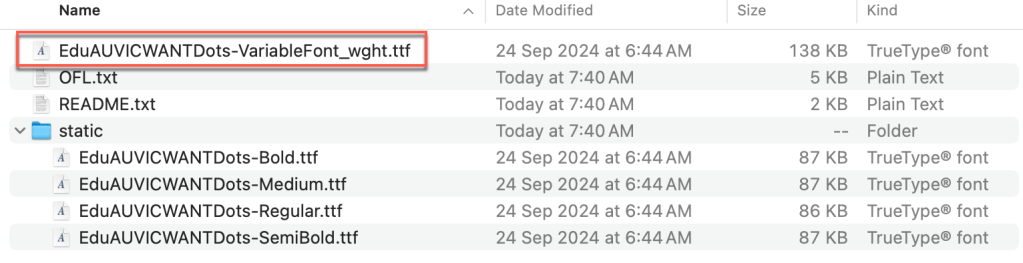
Here for this demo, I am going to use Edu Australia VIC WA NT Hand Dots font from Google fonts
Once you had downloaded the font, you should see some files as mentioned in the screenshot below. The highlighted file should be uploaded which will have all the font styles and weight for us to choose.
Navigate to the SharePoint Brand Center app and choose Add fonts

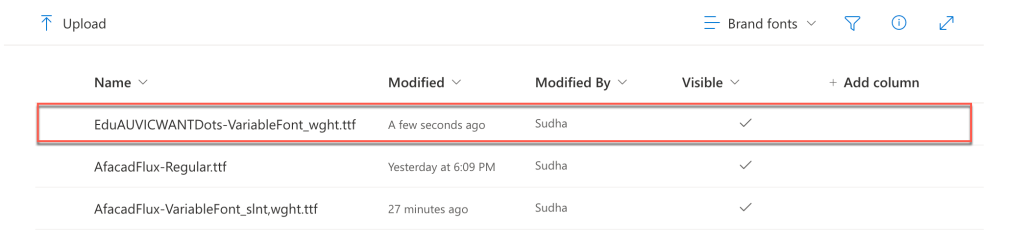
If you had already uploaded the fonts, then you will be provided with the list of fonts else the list will be empty. Choose Upload to upload the custom font that is downloaded in the above step.

Once you uploaded the font, you should be able to see the uploaded font in the list as shown in the screenshot below.
Now we have added for custom font to the fonts list. The next step is to create a Font Package for us to make use of this custom font in SharePoint and Viva Connections.
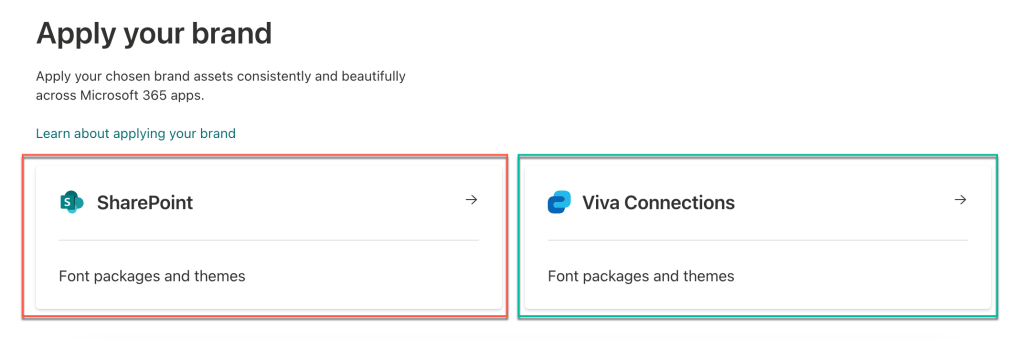
From the Brand Center home page, choose SharePoint or Viva Connections to create a font package. You can choose either and the font package once created can be used in both SharePoint and Viva Connections.
Click on any of the sections shown above and click Add font package as shown below.
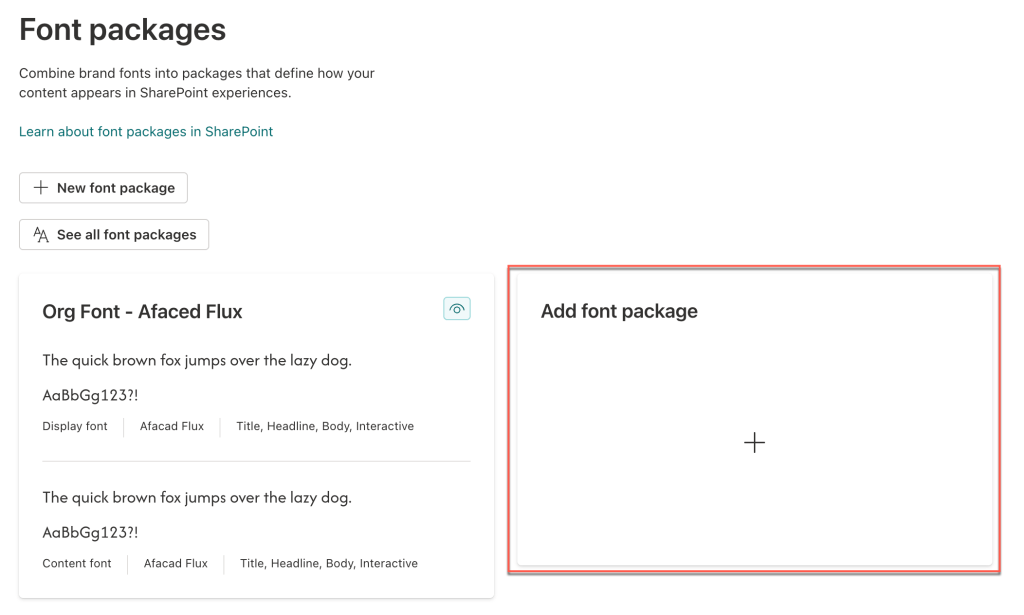
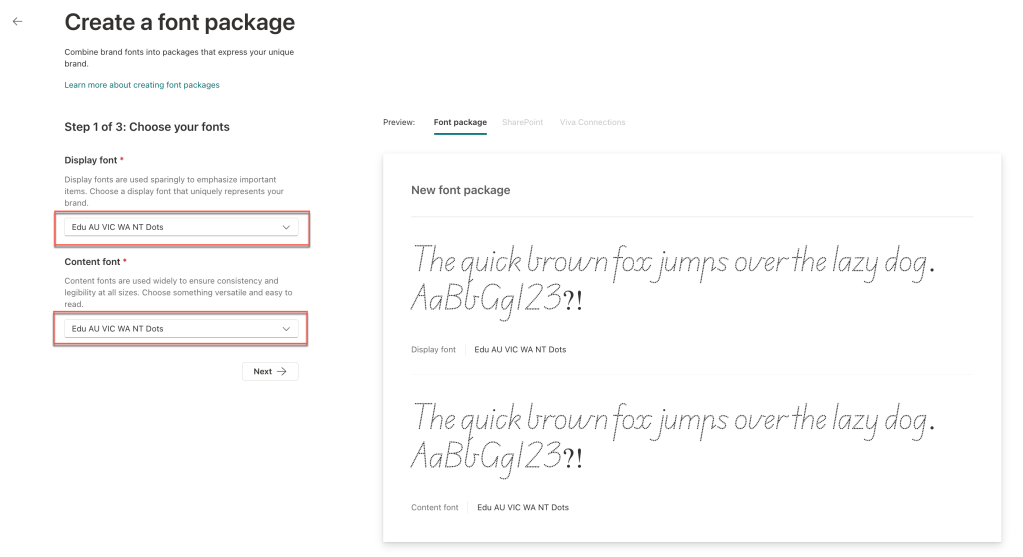
From the Create screen, choose the uploaded custom font for Display font & Content font as shown below. You can also use multiple fonts to create a package. You cannot mix the custom font with OOB fonts. The dropdown will lists only the custom fonts and you should be able to select from the custom fonts that you have uploaded to the Brand Center.
Note: You can mix the custom fonts based on the below selection. If you have chosen different fonts for Display & Content then you will be able to create a package with a mixture of 2 fonts. If Display & Content fonts are same then you cannot mix.
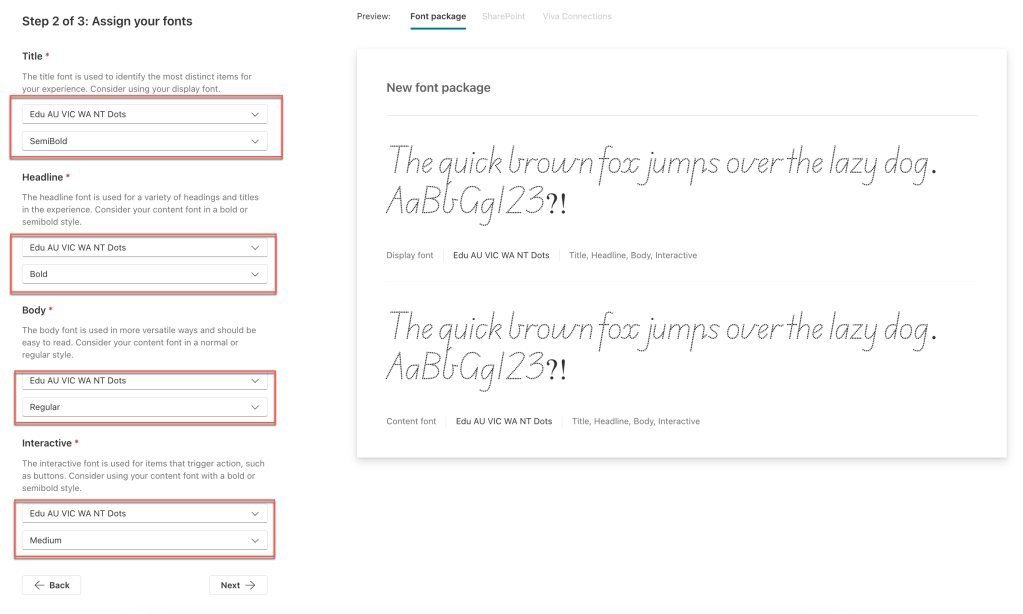
Click Next. On the next section, based on the selection of Display & Content font you will be able to choose the font & styles for
- Title
- Headline
- Body
- Interactive
In the last step, give a package a unique name which will be displayed in the font section of the sites. You can also have an option to choose whether the package should be visible for selection or not. Please make sure you understand the Accessibility reminder. On the right side, you should be able to preview the fonts applied to SharePoint sites & Viva Connections.
Note: Fonts are automatically applied to all the titles, heading and content in the page and also on the OOB webparts. Custom web parts do not change unless nothing mentioned specifically.

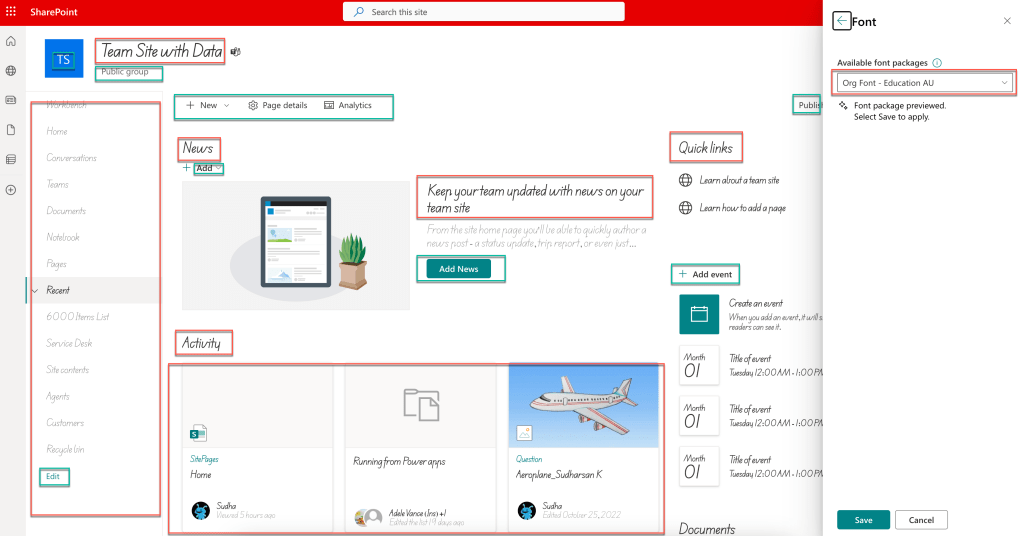
Once the font package is saved and if the visible is yes, then navigate to your site collection and choose Font from Change the look option from the Settings menu. You should be able to see the custom fonts along with the default OOB fonts.

Once you select the font, you can see a live preview of content reflecting to the selected font without having to save. Once you are satisfied with the content look & feel then you can save the selection and it will be applied to all the users.
If you see the below screenshot, the font for the title, left navigation, web part title and even the OOB web part content fonts are also changed. If you carefully notice, there are few links, labels and buttons whose fonts remain unchanged and this is part of the limitations and soon there will be a update on those contents too.
Conclusion
In summary, SharePoint Brand Font is an invaluable feature ny organization looking to maintain brand consistency, improve efficiency, and ensure proper font utilization across the tenant.
Stay tuned for our next article, where we will delve into detailed instructions on how to make use of the Brand Fonts in our custom SPFx web parts. We will provide step-by-step guidance to help you navigate its features, maximize its capabilities, and leverage its full potential for your brand management needs.
I really appreciate if you can take sometime to provide feedback or any suggestions via comments.
Happy Sharing…

Pingback: How to use Brand Fonts in SPFx Web part | Knowledge Share